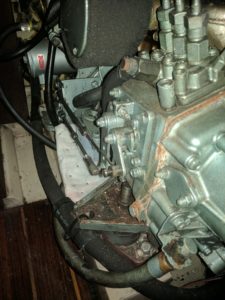
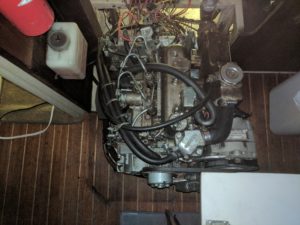
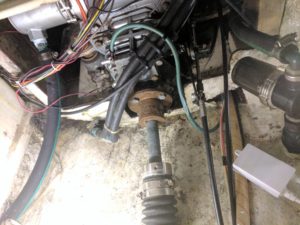
Transmission stiff shifting and control cable replacement
Over the week-end, we had an issue with the transmission where it was not possible to shift to forward gear anymore.
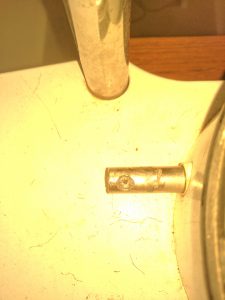
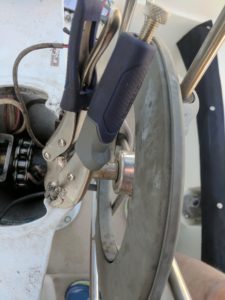
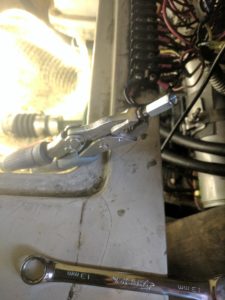
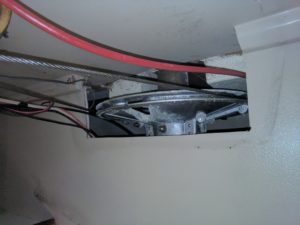
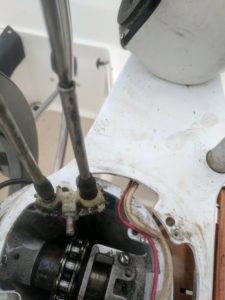
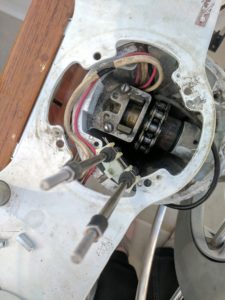
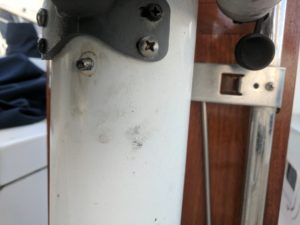
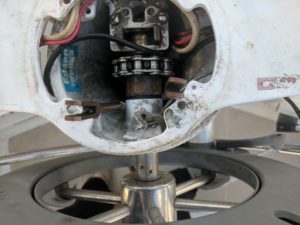
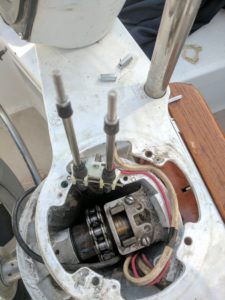
Few minutes later and too much play with the gear control, I managed to shear the screw in the shift lever, as you can see in the picture below.
After a safe back-up to the dock, thanks a lot to the help of Philippe Guillaud and his family!
It’s now time to fix Hotel Catalina (again)!
Plan!
This issue looks to be current with Edson Pedestal (as all other issues before :)), according to multiple comments online:
So the plan will be to:
- Remove the sheared screw from the lever
- How? Still need to figure it out
- Replace this screw:
- Check that the transmission shifts easily by itself to make sure the problem is coming from the control cable and not the transmission itself
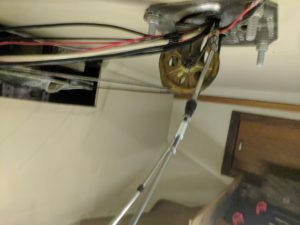
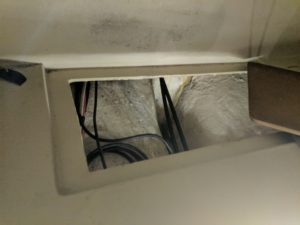
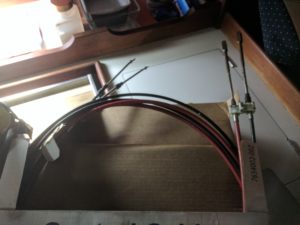
- Figure out what size of control cables needs to be ordered:
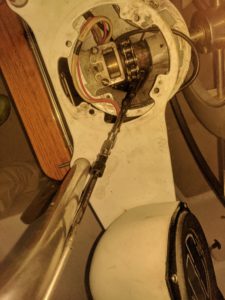
- Replace the old control cables with a coupling nut (10-32) connecting the old and new one:
- Give some love to the engine parts who need a bit of painting:
- metal treatment: https://www.amazon.com/Ospho-605-Metal-Treatment/dp/B000C02CDG
- paint: https://www.amazon.com/gp/product/B002JG01VQ/ref=ox_huc_add_on_msg_title_1?m=ATVPDKIKX0DER
- Protect the fuel line from chafing, not sure how I missed them during my last chafing protection mission.
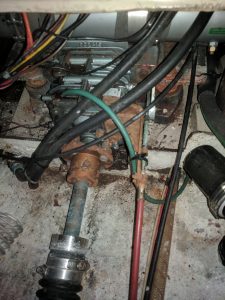
New priority project on Hotel Catalina! Let’s see how many week-end will I need to get it fixed 🙂
Helm tear down and fixing
Most of this section is coming from this document from Edson Marine. Edson Marine has been very helpful to answer my questions about the different part numbers I was not able to find around.
Remove the broken screw in the 960-A-938 lever assembly
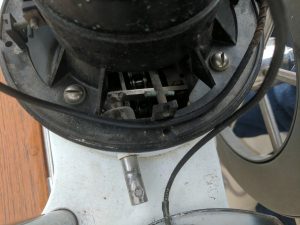
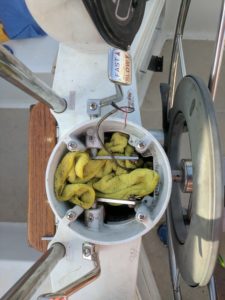
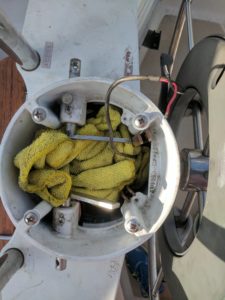
During the issue the screw broke and the gear handle got free:
-
1/4-28 x 3/4″ SS screw going to the stainless clutch handle
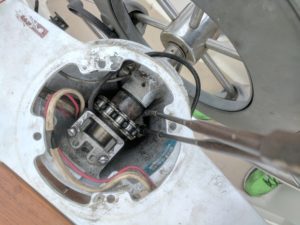
Easier than expected! I was able to get it out pretty easily with an easy out screw extractor after I drilled a small hole in it with a 1/16″ cobalt drill bit.
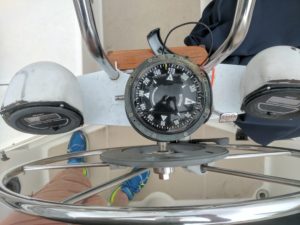
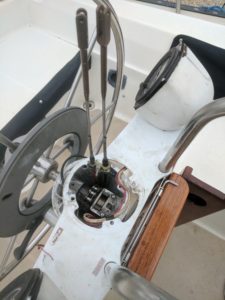
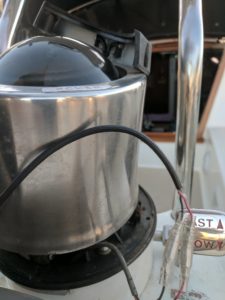
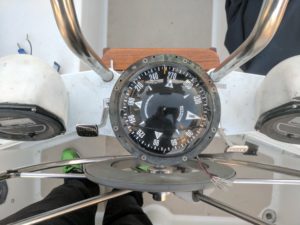
Remove the compass
The 3 first ¼”-20 x 3 ½” ¼”-20 x 4” stainless machine screw came out very easily and of course as usual one didn’t come at all after a lot of drilling and one drill bit broken I succeeded to get the compass out with only one screw to replace!
Remove broken ¼”-20 x 3 ½” ¼”-20 x 4” stainless machine screw
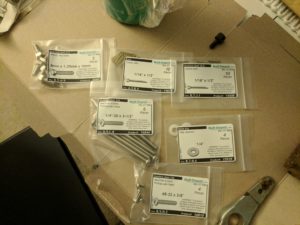
At the beginning based on documentation and online information I ordered by mistake 3 ½” machine screws where needed 4″ long screws.
-
¼”-20 x 4” stainless and should be coated with Tef Gel when installing.
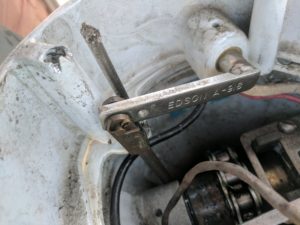
Lost lever assembly to control housing screw
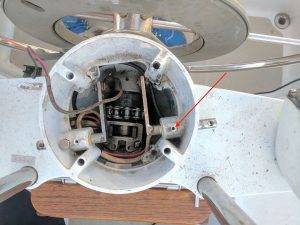
I just had to send a quick email to edson to be able to order the needed screw on boltdepot.com.
Those screws are 8-32 pan head machine screws 3/8” long.
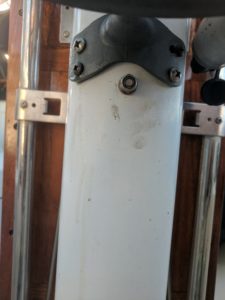
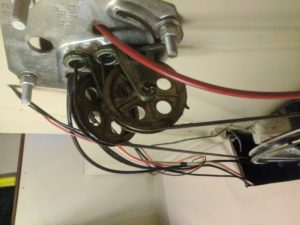
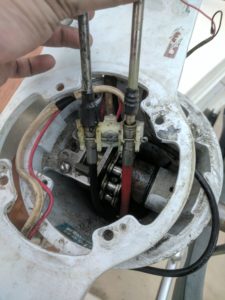
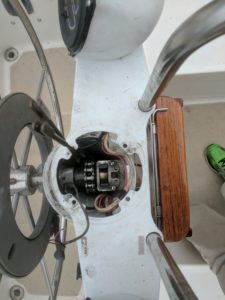
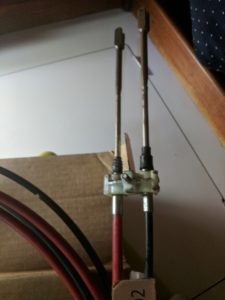
Remove screw holding the cable holder
I was doubtful about this part since it looks tedious to get it back there. But it was not as bad as it looked.
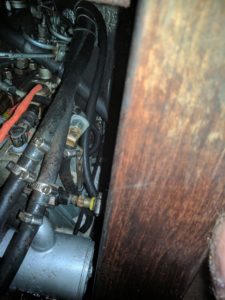
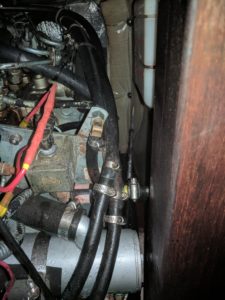
Engine room side work
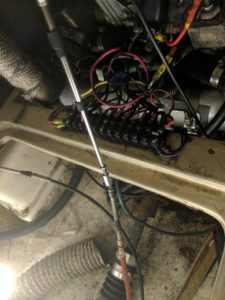
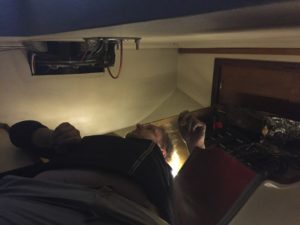
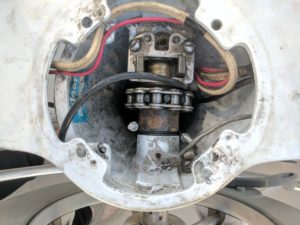
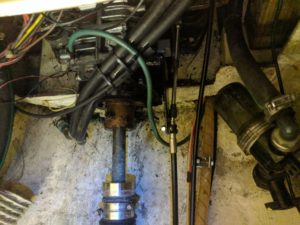
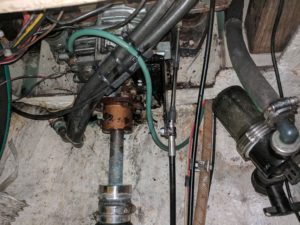
Now I am done on removing the different pieces on the pedestal side, I need to see how it looks on the transmission side.
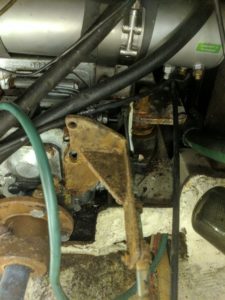
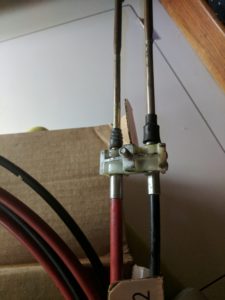
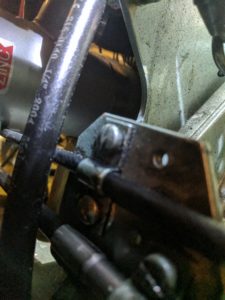
Transmission control cable holder
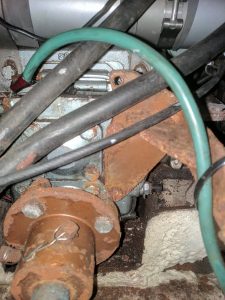
Pretty rusty but not too difficult to remove.
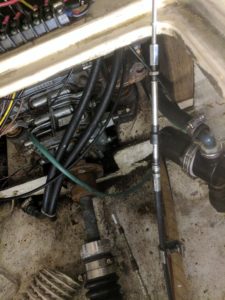
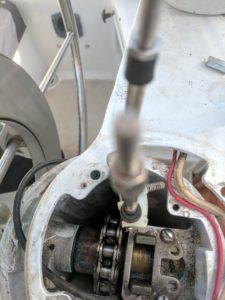
Transmission control cable is now free

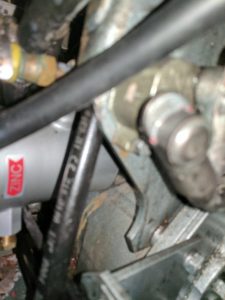
Transmission control cable before cleaning


Transmission arm removal

Removed from the transmission but impossible to disconnect the cable from the arm


After some efforts the transmission cable is totally free!

Old cables removed
New screws from boltdepot.com arrived
Cables replaced. Time to put everything back together at the pedestal
Now at the engine
Bracket cleaned and painted
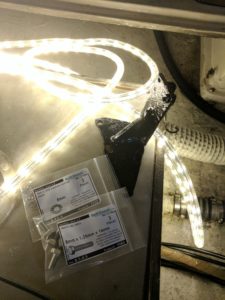
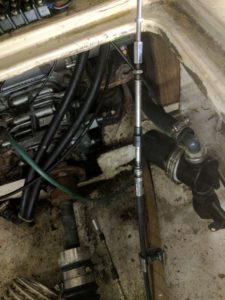
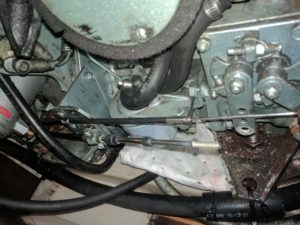
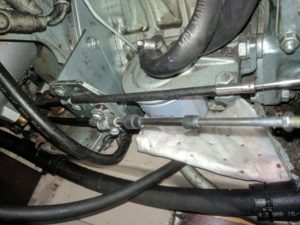
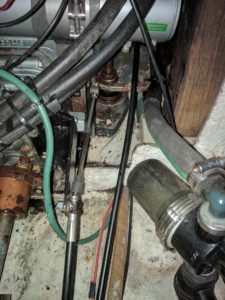
Cables in place
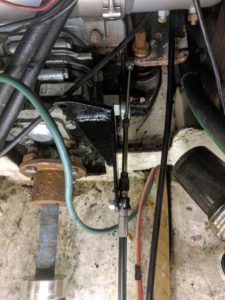
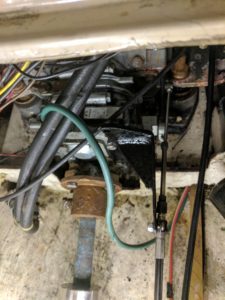
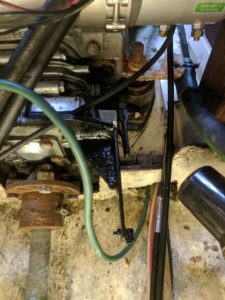
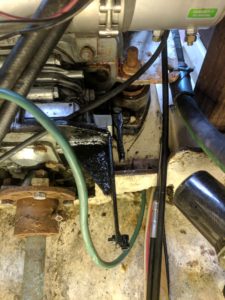
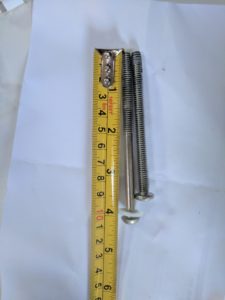
Machines Screw too small for the housing!
First I went back with the old one before to replace them later on.
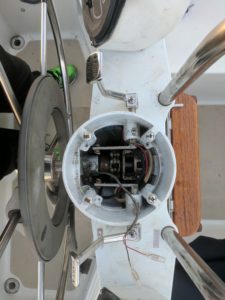
Compas LED crimping for easier removal next time
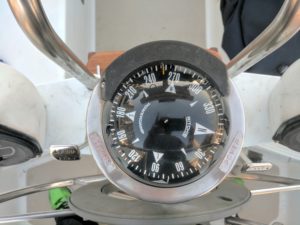
Everything is now back to normal!
This project took me 2 week-ends, and some painting at home. When it happens I thought it will take a lot longer, but it got fixed pretty fast.
More information about this process
Here more good information about this issue:
